


How to set up a simple e-mail
[1] Create some content for the e-mail body
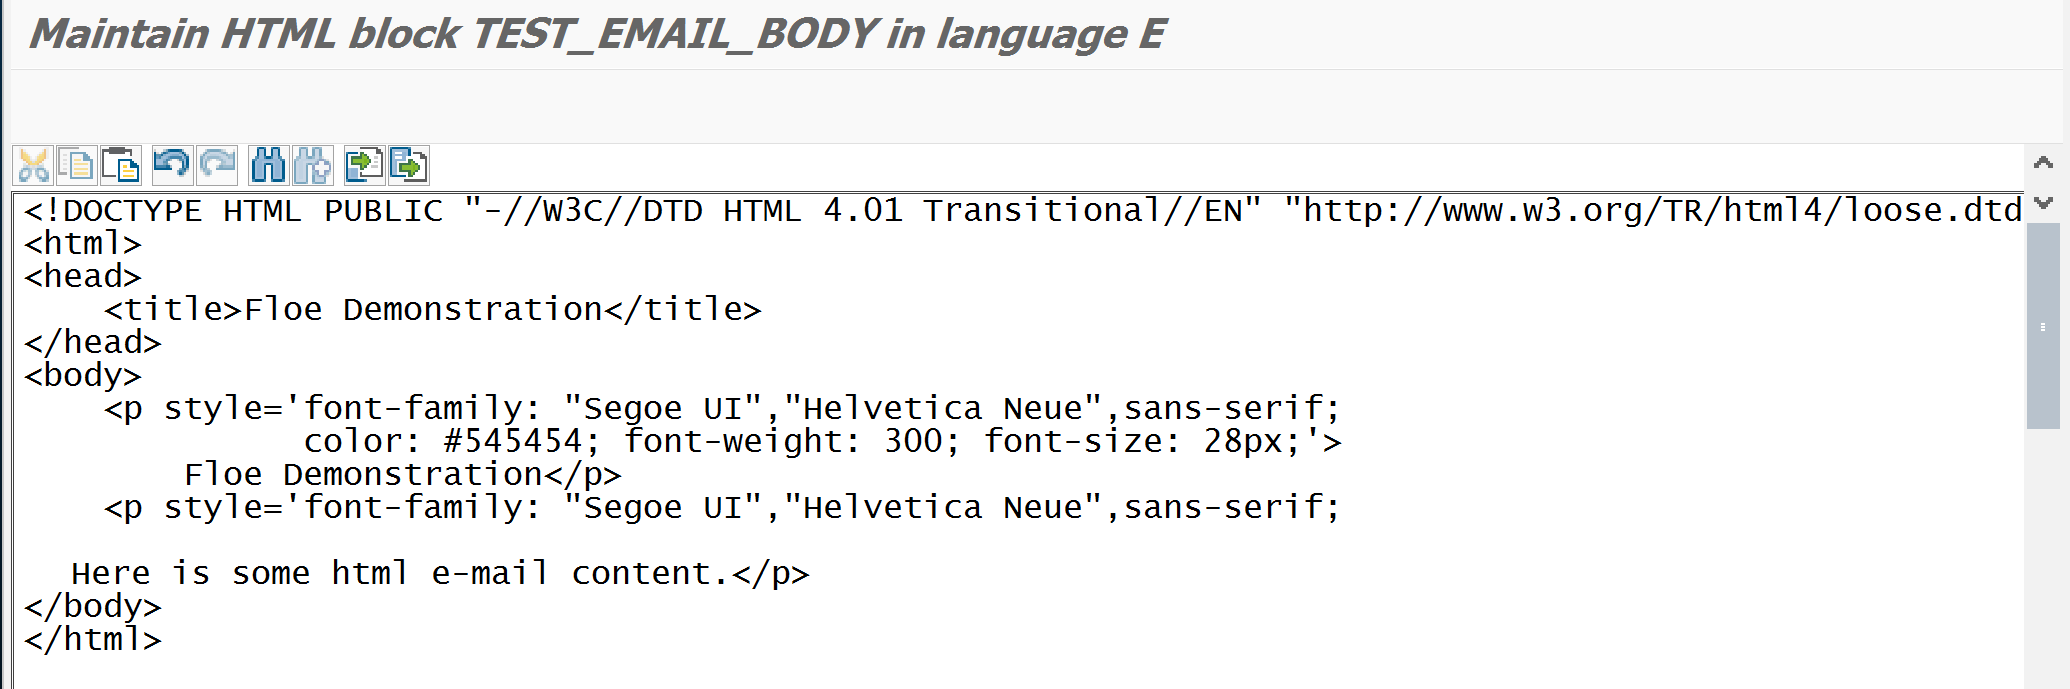
Use any HTML editor to prepare your e-mail body.
Here is a simple block you can use
1: 2: 3: 4: 5: 6: 7: 8: 9: 10: 11: 12: |
<!DOCTYPE HTML PUBLIC "-//W3C//DTD HTML 4.01 Transitional//EN" "http://www.w3.org/TR/html4/loose.dtd">
<html>
<head>
    <title>Floe Demonstration</title>
</head>
<body>
    <p style='font-family: "Segoe UI","Helvetica Neue",sans-serif; color: #545454; font-weight: 300; font-size: 28px;'>
        Floe Demonstration</p>
    <p style='font-family: "Segoe UI","Helvetica Neue",sans-serif; font-size: 11pt; font-weight: lighter;'>
	Here is some html e-mail content.</p>
</body>
</html> |
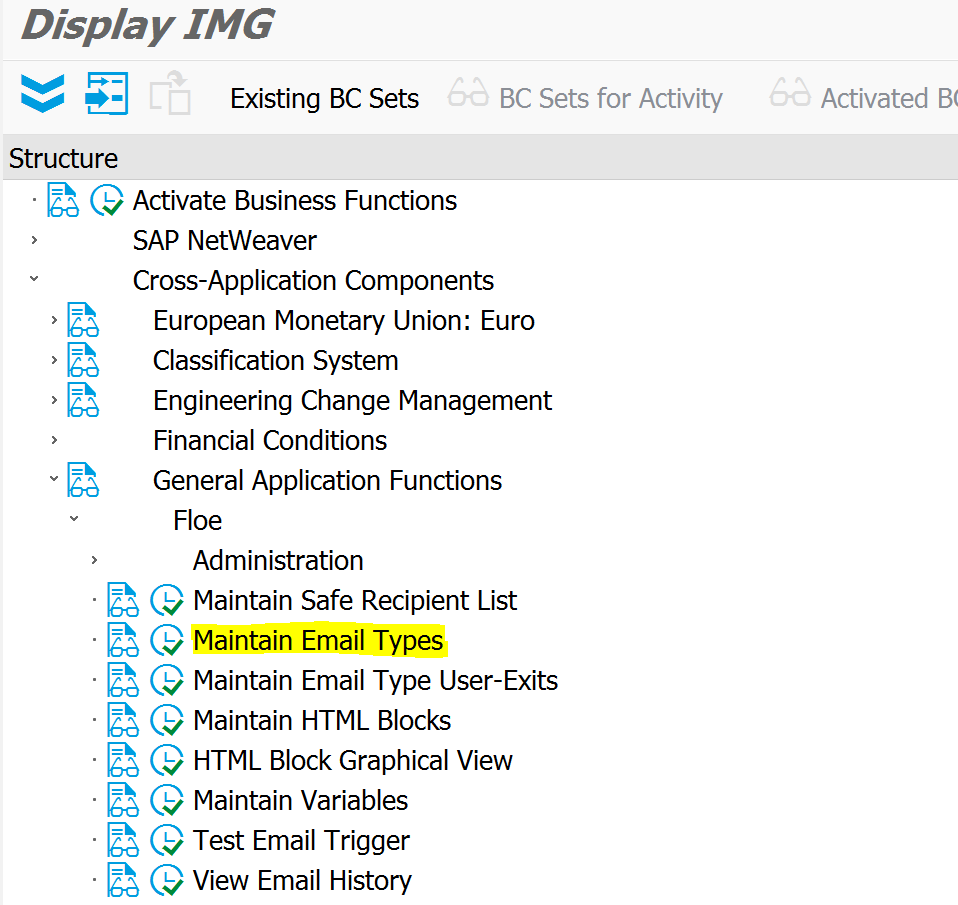
[2] Define a new HTML block and add the e-mail content
Navigate through the SAP IMG to the Maintain HTML Blocks option.

Select 'New Entries' and give your HTML block and code and a description

Save you entry, then select it and drill-down to the HTML Block Content option
Select New Entries, and select your new HTML block from the drop-down list
Add the communication language, and select the 'Edit Block Content' pushbutton.
Paste in the HTML block and save.
You have now saved the HTML e-mail template. Exit the transaction.
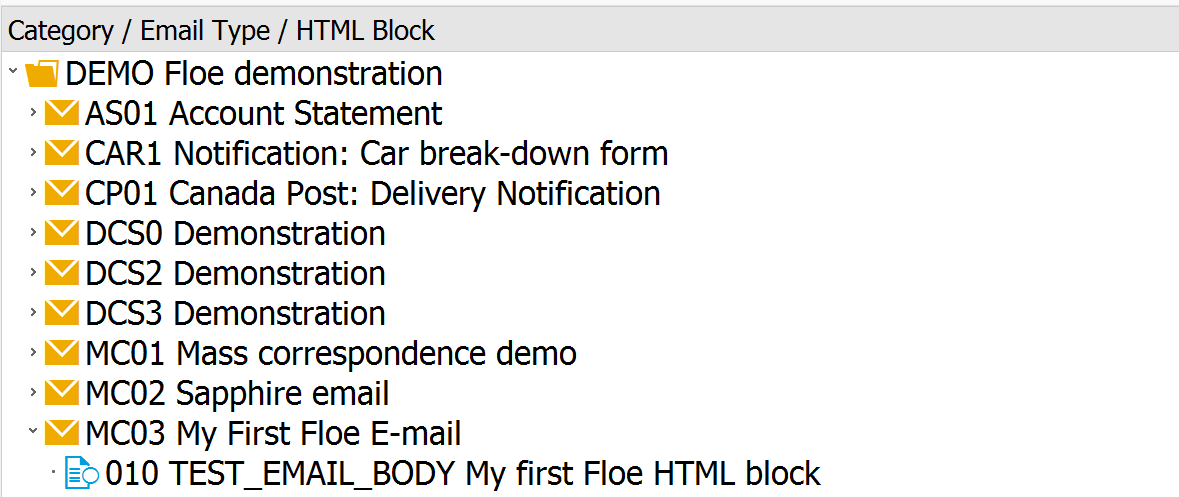
[3] Define a new E-mail type
Navigate through the SAP IMG to the Maintain Email Types option.
If you have no Email category, create one using the New Entries pushbutton.
Simply give the Email Category a name and a description and Save.
When you have an Email Category, select it and then drill-down to the Email Types using the folder structure.
Now select 'New Entries'
Enter details for the email type name, category, sender address and subject fields.
The Short Email Subject is the subject used for the SAP outbound mail queue in transaction SOST.
The Long Email Subject is the text used for the generated e-mail.
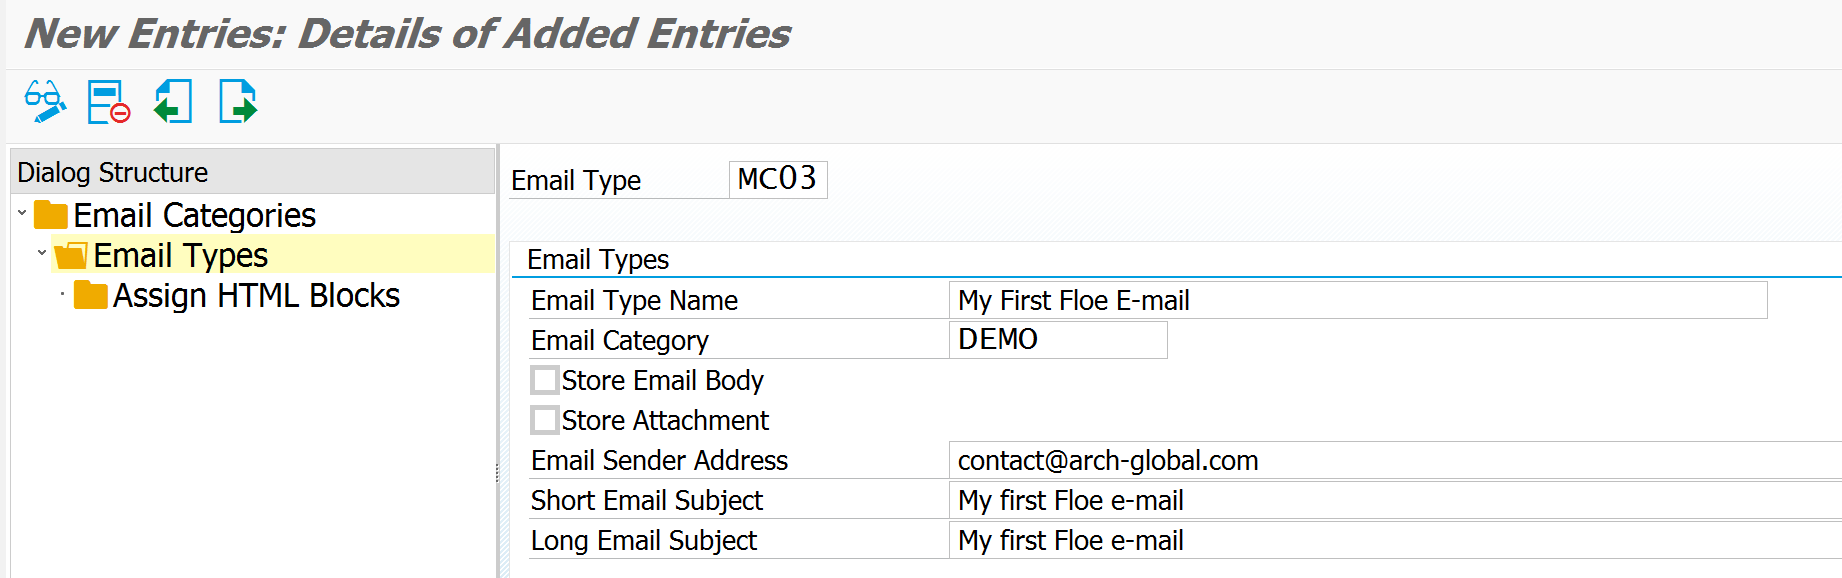
Save the Email Type and select the option to 'Assign HTML Blocks'
Select 'New Entries'. Enter Email Type, Sequence and HTML Block code

Save and Exit.
[4] Generate E-mail user-exits
Navigate through the SAP IMG to the Maintain Email Type User-Exits option.
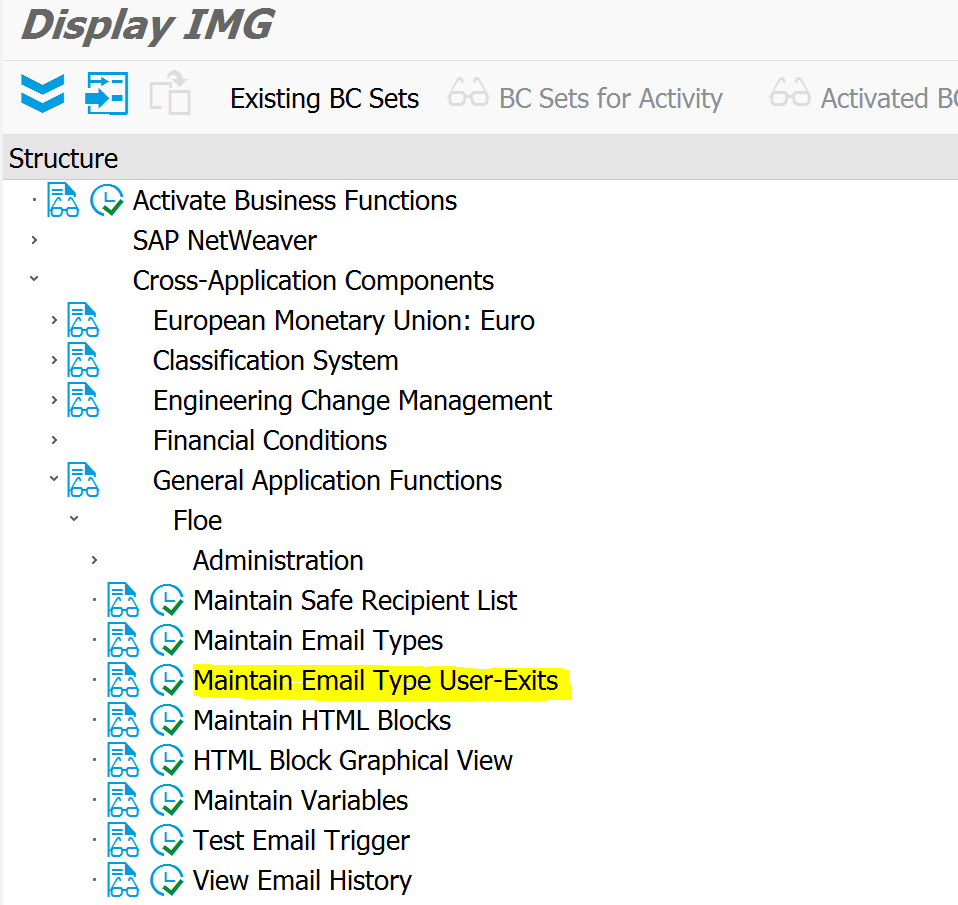
If you want to add variables or other dynamic content to the e-mail, you do this using user-exits.
To generate the user-exit navigate to your new Email Type, right-click the mouse and select the option 'Generate User-Exits'
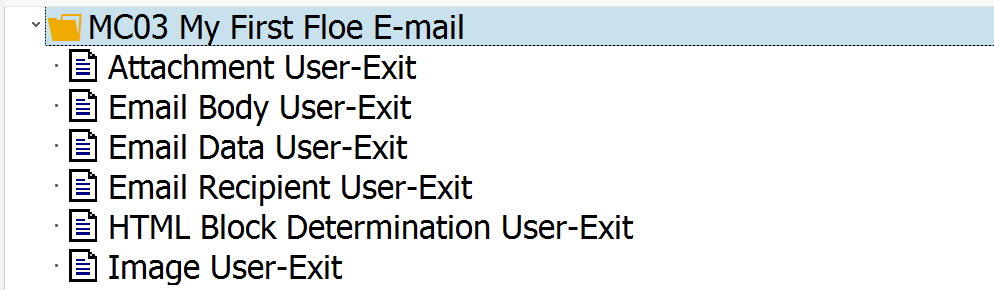
You can now add your own business logic to one or more user-exits.
[5] Check the E-mail Type configuration
Navigate through the SAP IMG to the HTML Block Graphical View option.
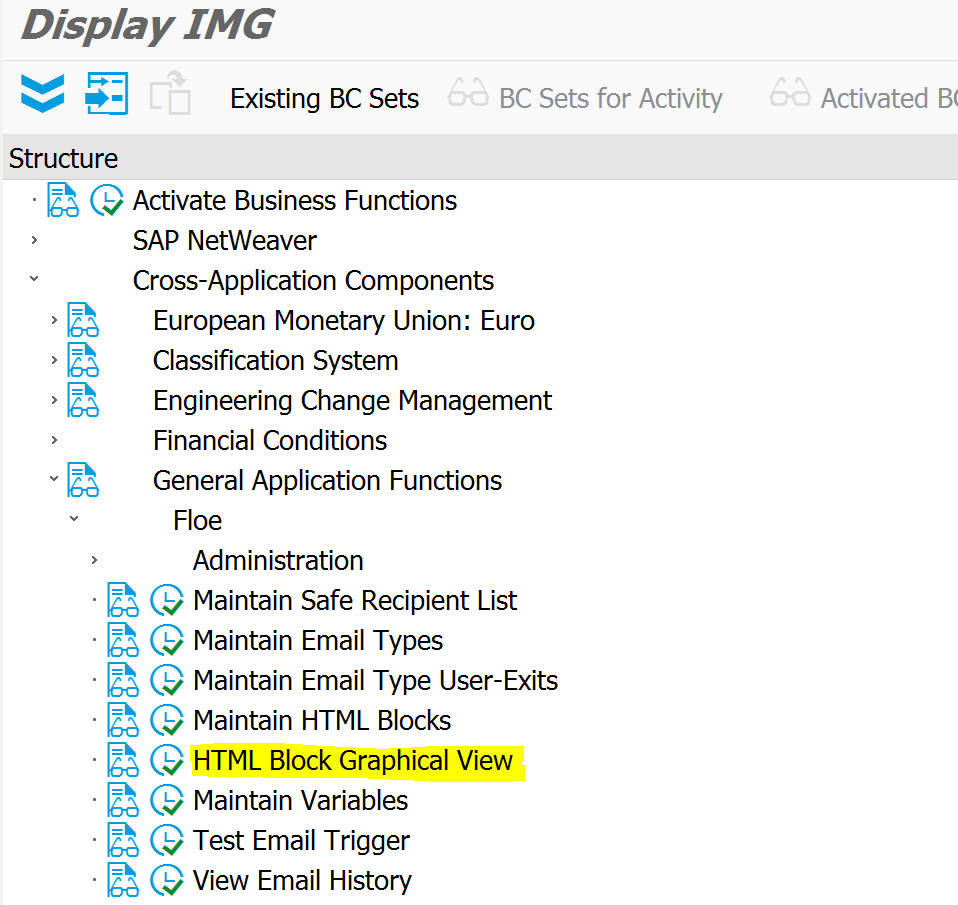
Navigate to your Email Category, Email Type and HTML Blocks.
Any errors or warnings will be displayed.
Check out this demonstration video
[6] Check the e-mail recipient is permitted
Navigate through the SAP IMG to the Maintain Safe Recipient List option.
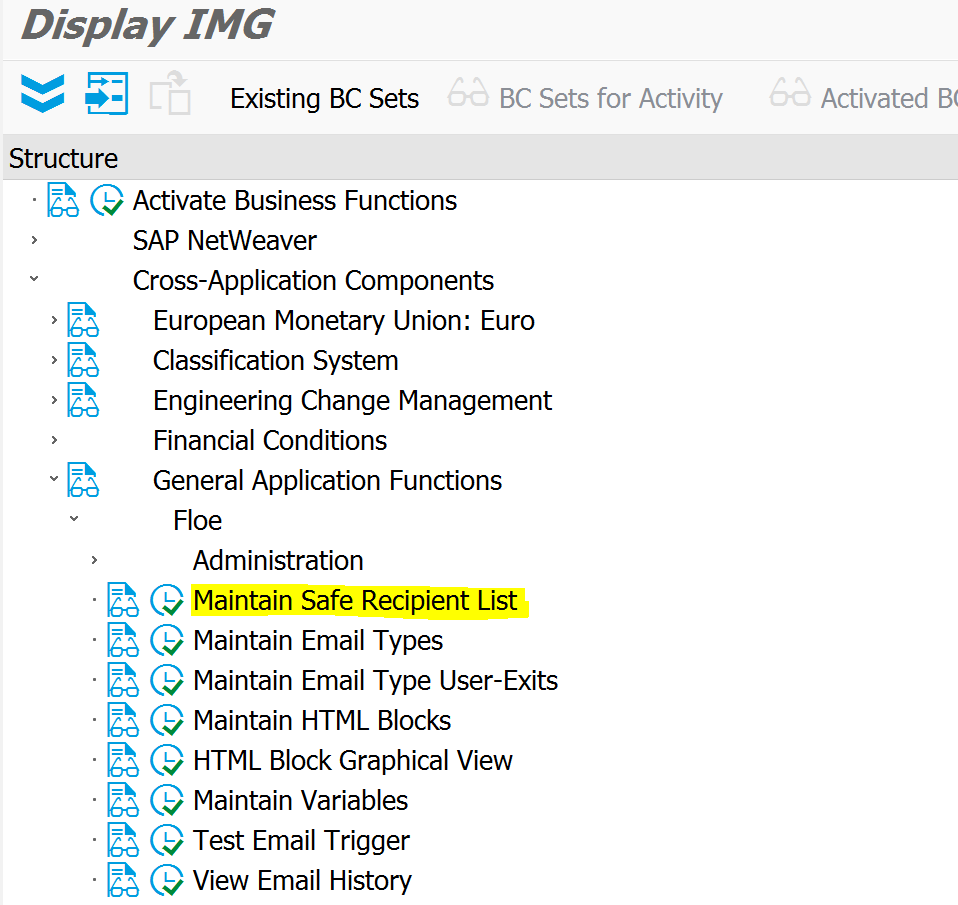
The default for non-production systems is that all recipients for test e-mails should be added to a safe recipients list.
Simply add any test recipients to the table and Save.
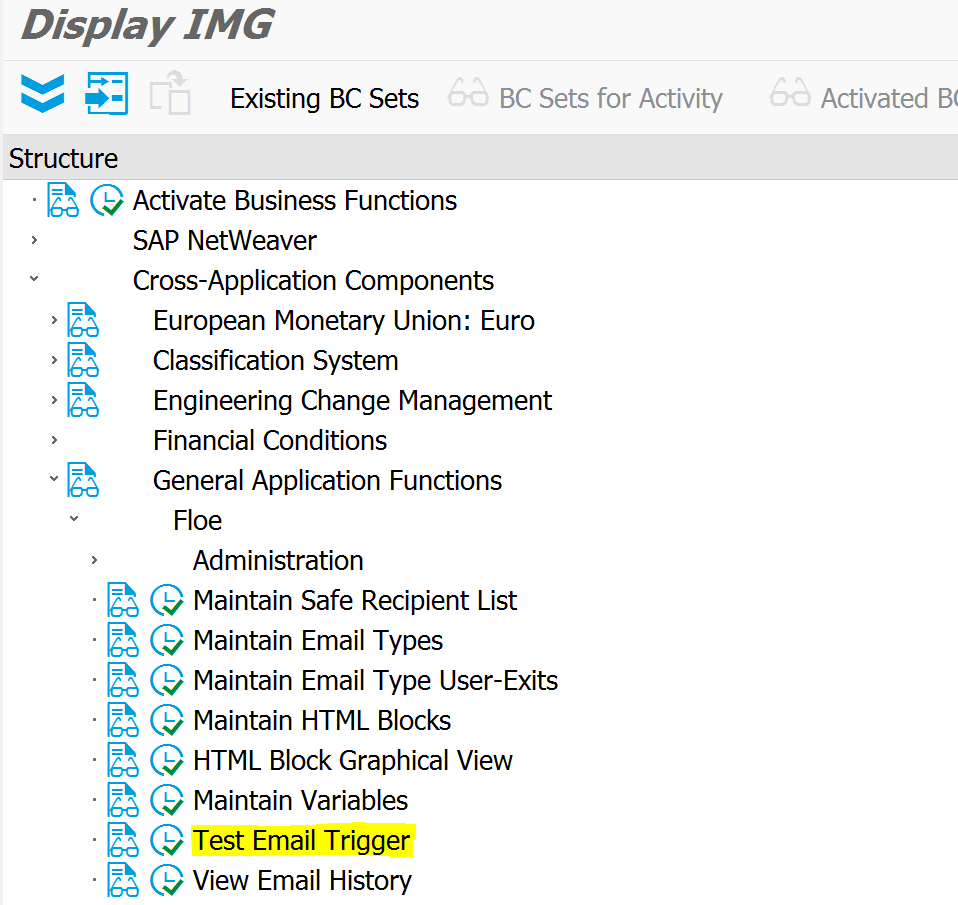
[7] Trigger a test e-mail
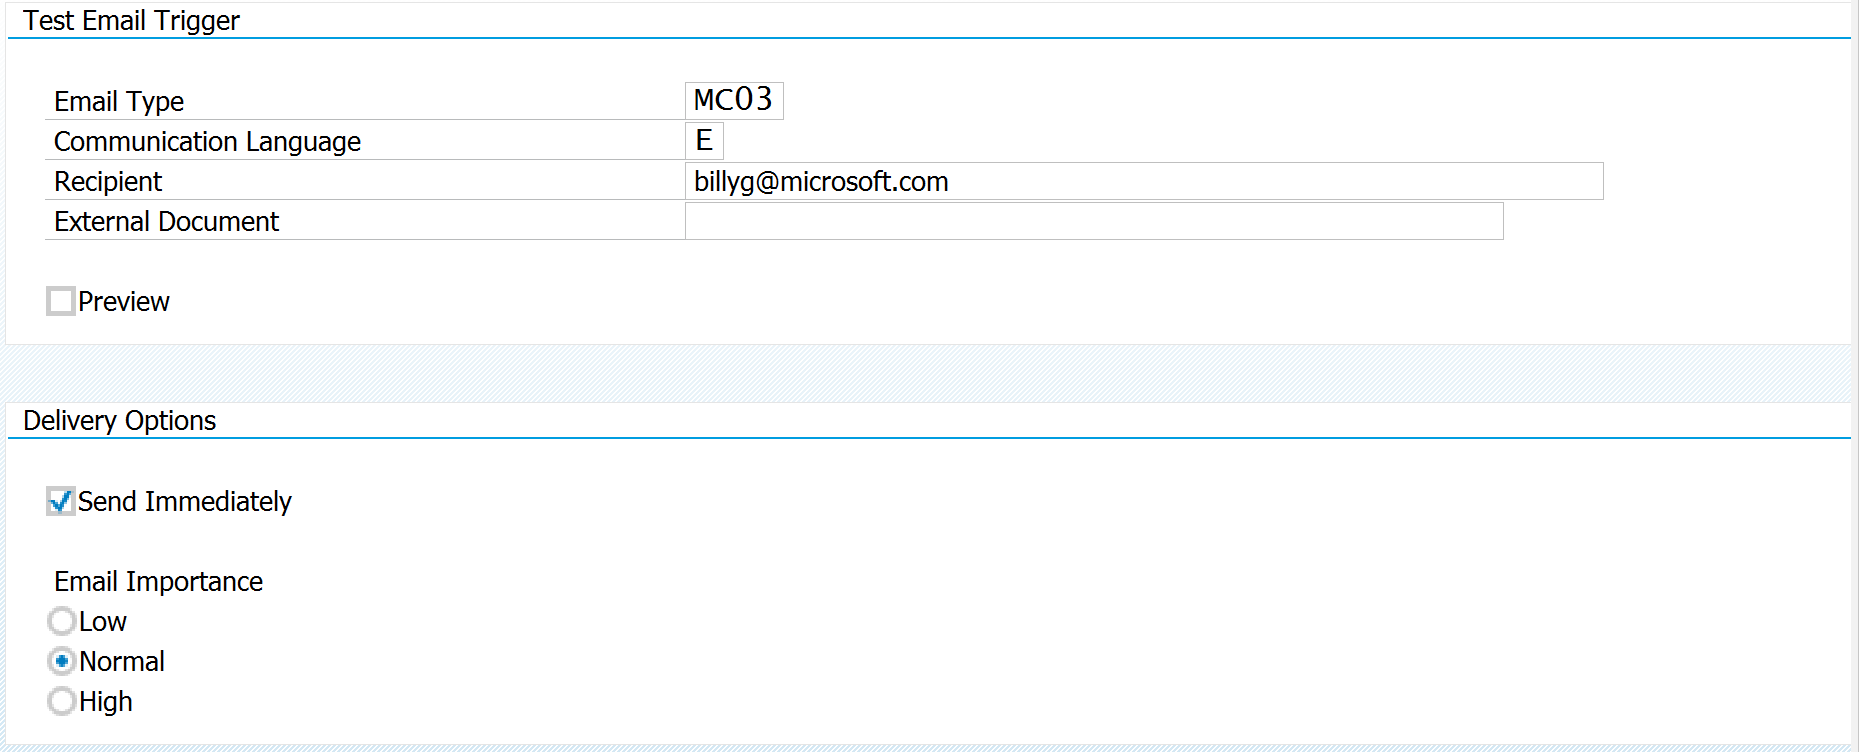
Navigate through the SAP IMG to the Test Email Trigger option.
Enter you e-mail type, communication language, and recipient.
Select the Preview flag to see the e-mail generated in SAPGUI.
Leave the Preview flag empty to send an e-mail from Floe.
Use the send immediately flag to process the outbound send action from the SAP mail queue immediately.
Best Practises
See the Floe Best Practises guide
Demonstration videos
1) Build a simple e-mail with Floe
2) Trigger mass correspondence with Floe