Table of Contents
Overview
Floe200 allows emails to be built using a combination of Floe menu options in SAPGUI and the Fiori Email Builder app.
Email Builder enables Business Users to manage email content. Technical development within the Floe backend menu will still be required by a developer.
We identify 3 roles for defining and building emails with Floe with each role having a specific responsibility.

Role responsibilities
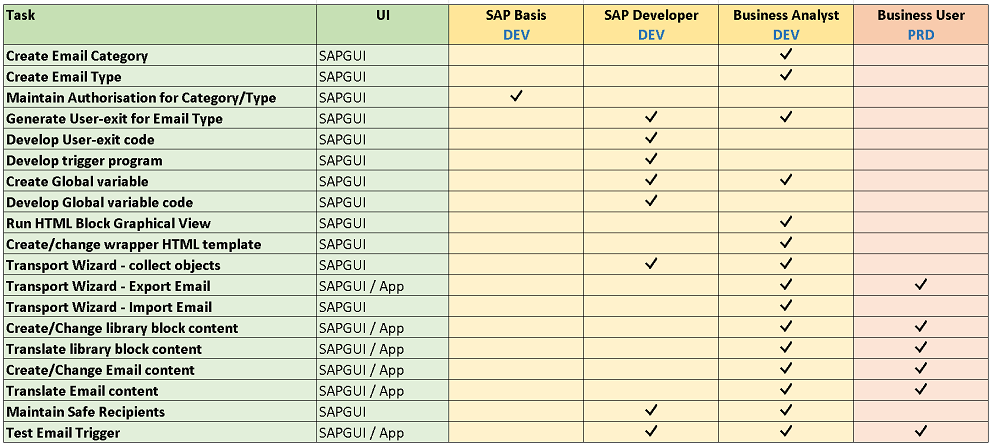
Steps to setting up an email using Email Builder

Create a new email
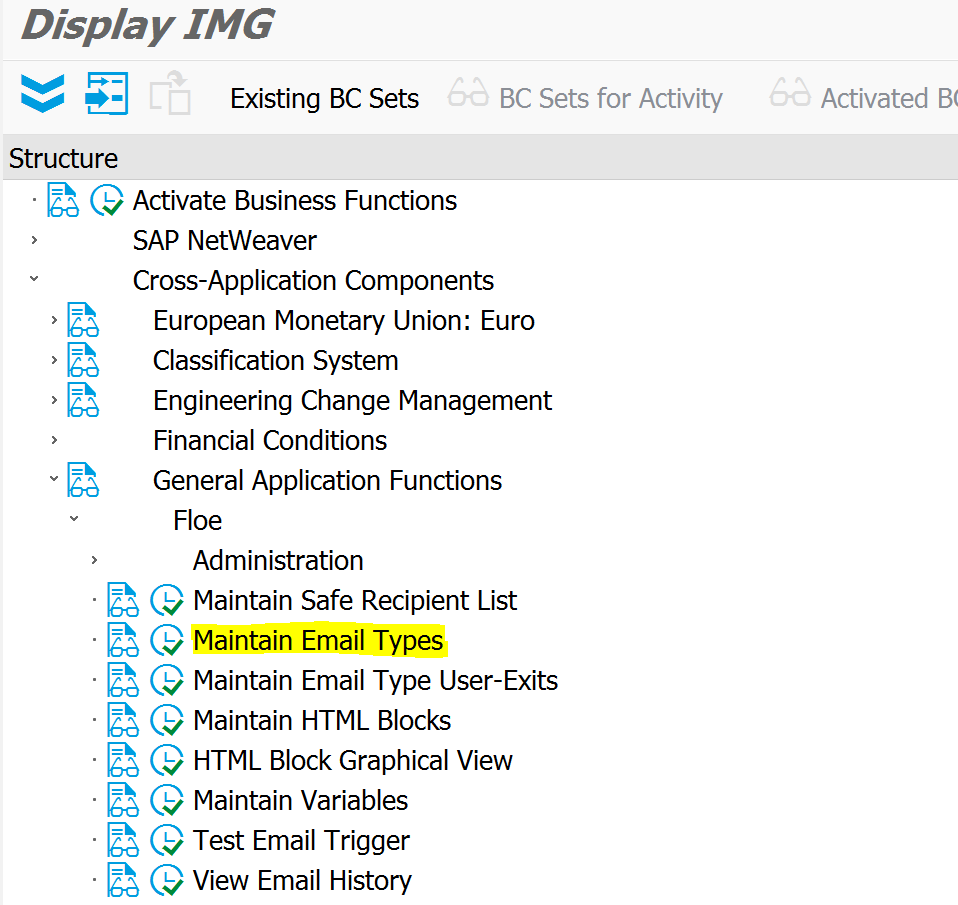
Define a new E-mail type
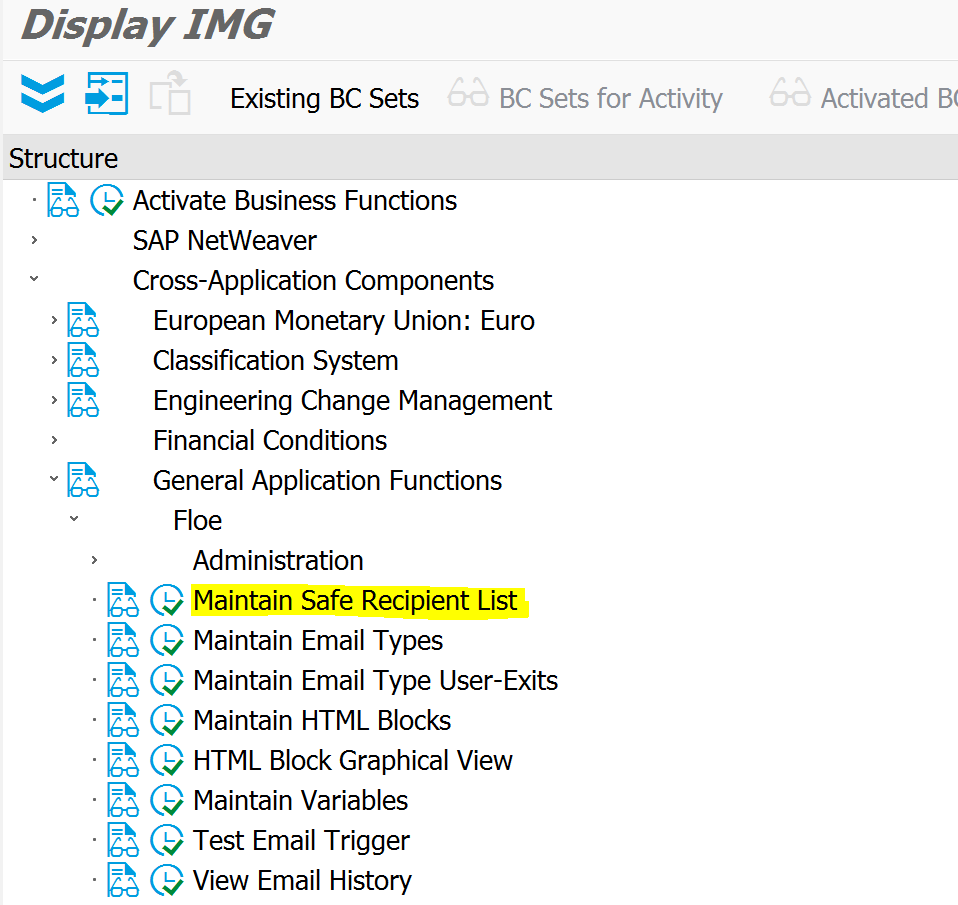
Navigate to SPRO> IMG > Cross-Applications > General Application Functions > Floe > Maintain Email Types. Select 'New Entries'
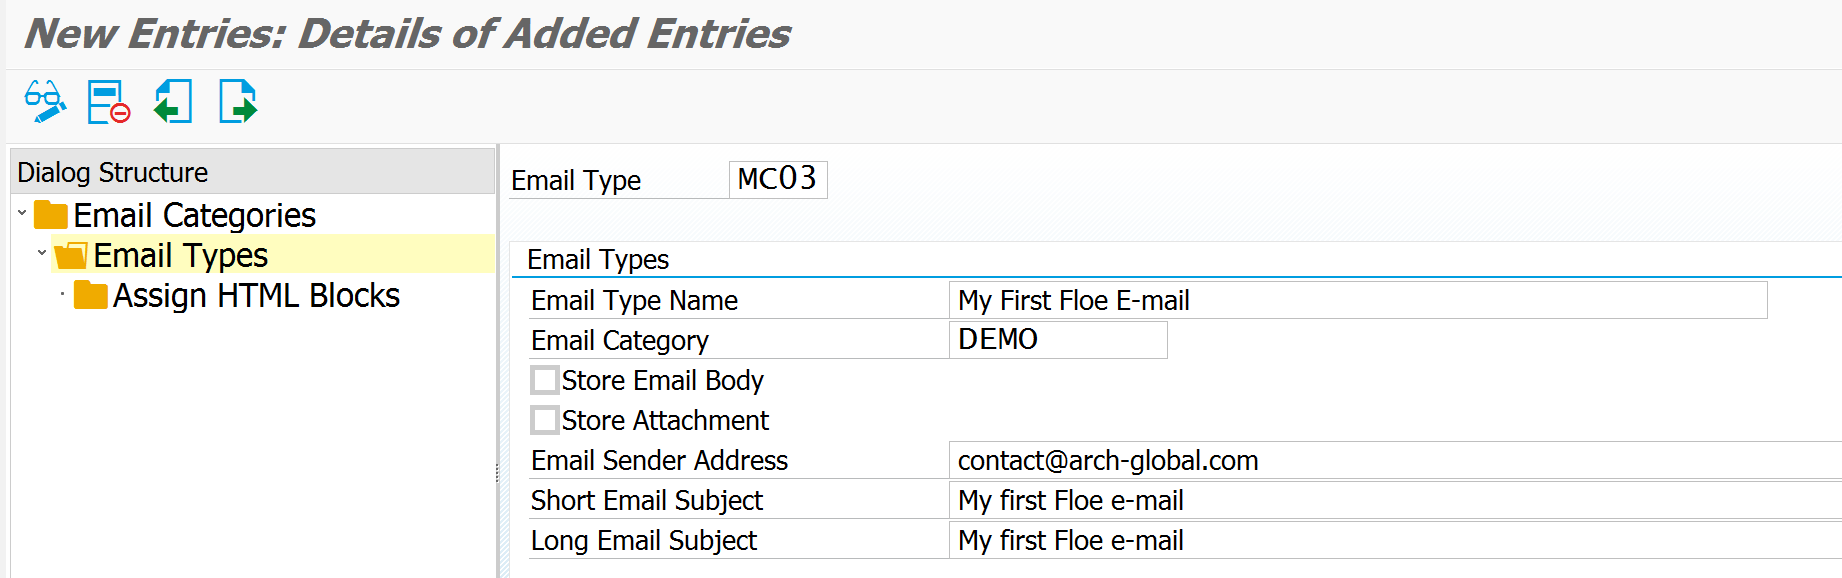
A Description and Email Category must be assigned. Add an email type name, category, sender address and subject fields. The Short Email Subject is the subject used for the SAP outbound mail queue in transaction SOST. The Long Email Subject is the text used for the generated e-mail.
The Store Email and Store Attachment are optional flags to denote whether content is saved in the SAP content server.
If an e-mail address is added, this is used as the sender email. The sender email can also be set within Floe settings or by individual e-mail type. Save and Exit.
If you have no Email category, create one using the New Entries pushbutton.
Give the Email Category a name and a description and Save.
When you have an Email Category, select it and then drill-down to the Email Types using the folder structure.
Now select 'New Entries'
Enter details for the email type name, category, sender address and subject fields.
The Short Email Subject is the subject used for the SAP outbound mail queue in transaction SOST.
The Long Email Subject is the text used for the generated e-mail.
Generate E-mail user-exits
User-Exits allow you to add your own business logic to your emaily type. They are also used to add variables or other dynamic content to the e-mail.
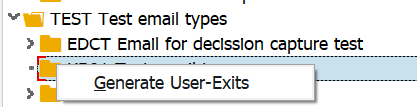
To generate the user-exit navigate to Maintain Email Type User-Exits select the email category, right-click the mouse on the email type and select the option 'Generate User-Exits'
Update the e-mail recipient list
The e-mail recipient which is used for testing in the DEV or QA system, must be in the Safe Recipient List. Read about the Safe Recipient List here.
The default for non-production systems is that all recipients for test e-mails should be added to a safe recipients list. Simply add any test recipients to the table and Save.
Check the E-mail Type configuration
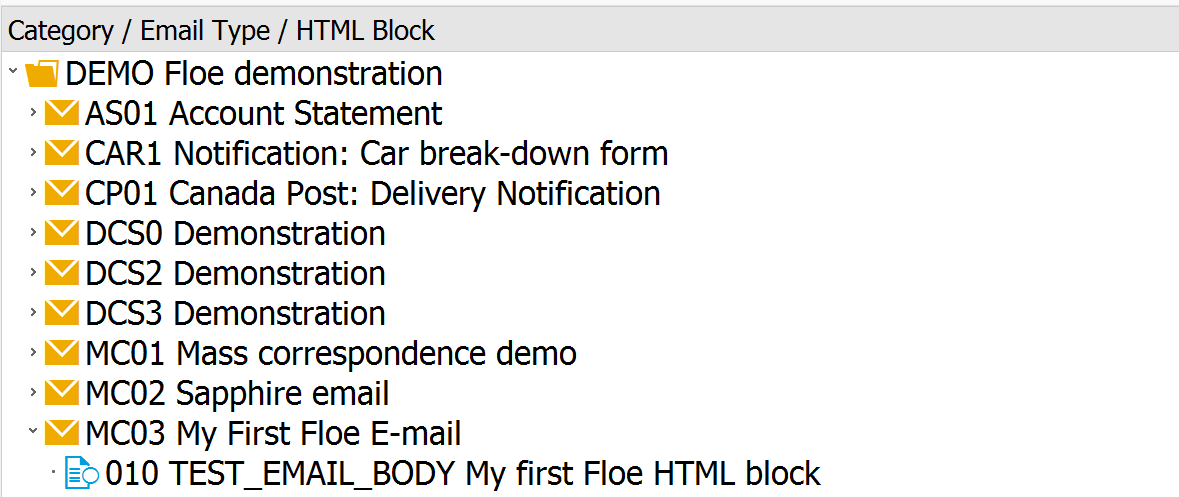
Blocks added to an email through Email Builder or created in older versions of Floe can be viewed using the HTML Block Graphical View option.
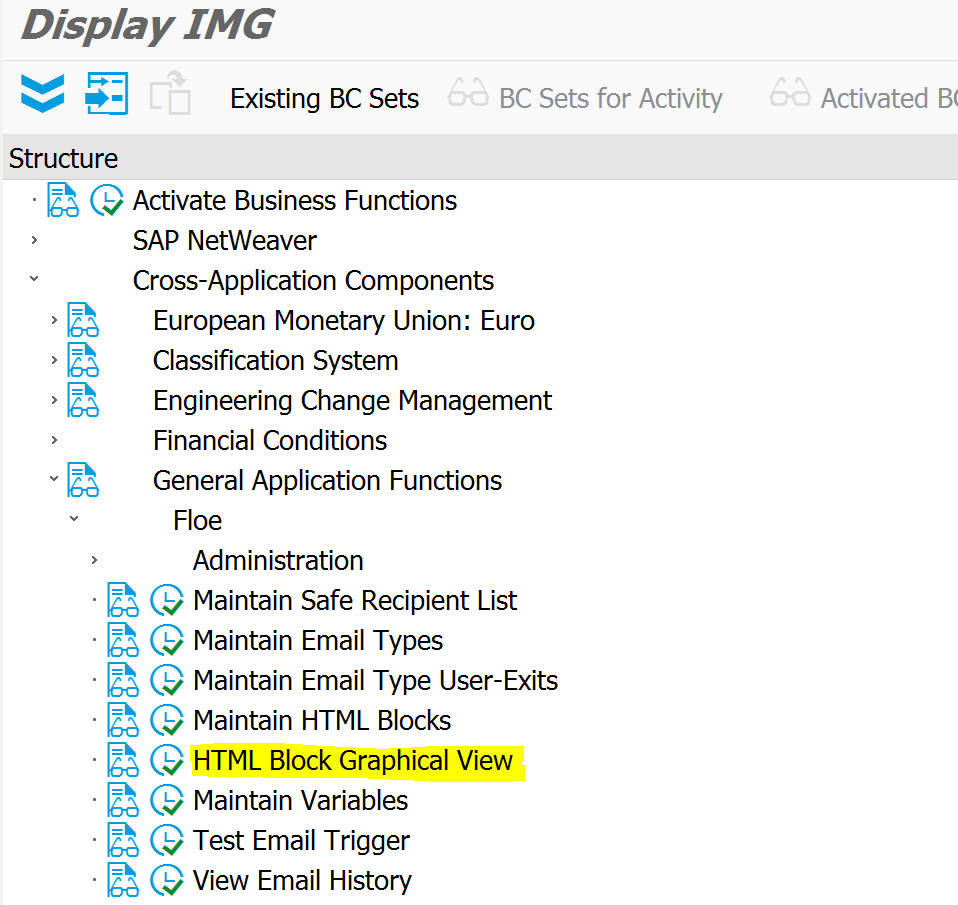
Navigate to your Email Category, Email Type and HTML Blocks.
Any errors or warnings will be displayed.
Manage Email content
Manage Library
The 'Manage Library' view enables a user to add, change or delete content blocks that can be used in multiple email types.
Email Builder Header bar

Library Block Selection Screen

The Header menu bar allows the user to:
- Add a new library block
- Change the library block language
- Search for a library block by name/id
- Sort the library block list
Adding a new library block
When you add a new Library block, you are requested to enter the content block type and the language. Library block types can be ‘text’, ‘code’ or ‘separator’.
Text and Code blocks have content, maintained through an editor.
Text and Separator blocks have properties for styling (borders, background colour and padding)
All three block types have ‘properties’ (name, id, repeating indicator)
Library content view

The header bar enables the user to:
- Navigate to other views
- Change the language of the library block being viewed
- Translate the block to a new language
- Clone the library block
- Delete the library block.*
- Save changes
*The delete button is only available if the library block is not assigned to any email types.
The screen is split into two sections: The top half is a preview section and the bottom half is the editor section. The preview section is not included for ‘code’ block type.
The editor section has 4 tabs:
- Content. Includes an editor to create/change the content. An HTML editor is included for ‘Code’ blocks, and a Rich Text editor is included for ‘Text’ blocks.
- Properties. Includes styling for margins, borders and background colour.
- Settings. Includes the block id and name.
- Where-used List.This only appears when a library block is assigned to one or more email types. The email types assigned are shown.
The Rich Text Editor is used to add and format text, images, tables and links. It also includes the capability to switch to an HTML code view, so that the generated code can be edited directly.
Manage Emails
Using the Email Builder app, the ‘Manage Emails’ view enables a user to add, change or delete multiple blocks for a selected email type.
Selection Screen Image

The header bar enables the user to:
- Navigate to other views
- Search for an email type by name/id
- Sort the email type list
Adding a new email type
A new email type must always be defined in the back-end development system first. Based on the email type, user authorisation can be set and user-exits are generated.
When an email type is available but no content has been created, a symbol  is shown under ‘Not Maintained’ in the Email Type list. When an email type is selected for the first time the user is asked for:
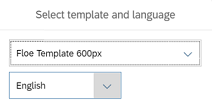
- Email language
- Template (The boilerplate template that sets the width.)
Select template and language
Adding blocks to an email type
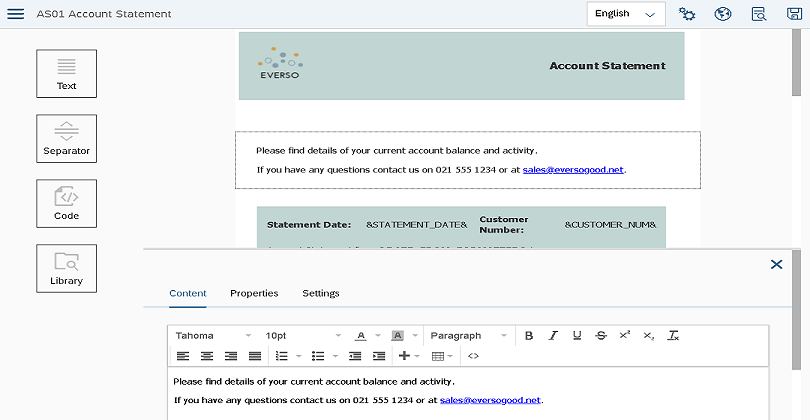
Manage emails - detailed view
The header bar enables the user to:
- Navigate to other views
- Change the language of the email being viewed
- Edit the email settings.
- Translate the email to a new language
- Preview the changes
- Save changes
The screen is split into three sections: The top half is a preview section and the bottom half is the editor section. In addition, the left section shows blocks that can be dragged in to the main content. New blocks can be added by dragging in any of the block items on the left - Text, Separator, Code or Library and dropping them on the Drop new content here location.
The editor section has 3 tabs:
- Content. Includes an editor to create/change the content. An HTML editor is included for ‘Code’ blocks, and a Rich Text editor is included for ‘Text’ blocks.
- Properties. Includes styling for margins, borders and background colour.
- Settings. Includes the block id and name and Repeatable block toggle.
To view the editor section you must select a content block.
Text block editor

The Rich Text editor is used to add and format text, images, tables and links. The HTML editor allows the user to switch to HTML code view, so that the generated code can be edited directly.
On hover, you can also see options to copy or delete the content block:

Adding to the library and copying from the library

In the settings table there is a ‘library block’ indicator. If this is turned on then the block will be added into the library the next time the email is saved.
When the library block indicator is set the content and properties of the block cannot be changed, except through the Manage Library view.
If the Library Block indicator is turned off then the content of the library block is copied to a new block, leaving the library block unchanged.
Test Trigger
The Test Trigger view is used to run Floe to generate an email output either as a preview or send a test email.
The header bar includes icons to navigate to other views and to trigger the send.
The view has 3 sections:
Settings
This includes fields for email type, recipient email address, language, reference document, immediate send indicator and importance: The same parameters as in the back-end transaction /FLOE/TEST_TRIGGER.
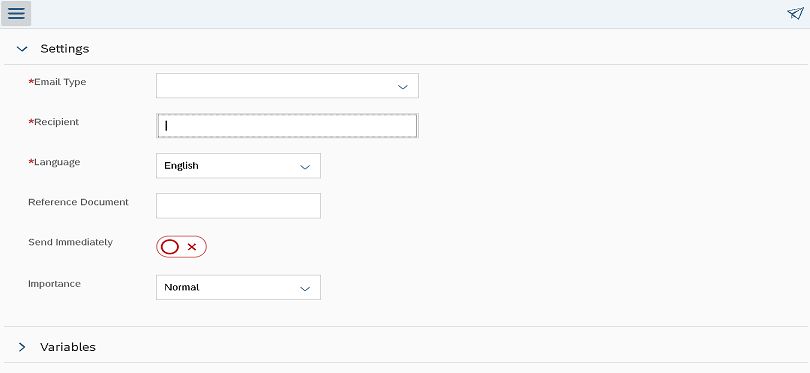
Variables
In addition to the back-end transaction, the app also has a variables section, enabling the user to feed variable data into Floe for the preview. This supports repeating variables.

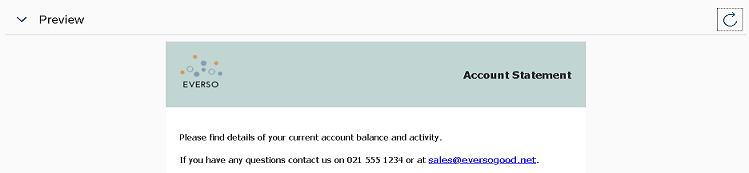
Preview
The Preview runs whenever the preview section is opened or refreshed.